Color Calibrated Workflow

During my Studio Lighting and Photoshop classes we often discuss the benefits of having a color managed workflow. I use the X-rite ColorChecker Passport to create custom camera profiles. Since I can potentially use 3 bodies during an event shoot, such as a wedding, I want to make sure that the color rendition from all my cameras match.

As for my display and printer I’ve upgraded from the Spyder2 Pro Studio to the Spyder4 Pro Studio. Trust me, the only reason I upgraded to the Spyder4 was that I upgraded my operating systems to Windows 7 and the Spyder2 Pro was no longer supported.

So what good is a color calibrated workflow if the photo processing lab’s colors don’t match what you see on your screen?  The way I do it is to send the photo processor a Target Image that has been specially designed with known color and B&W values. I’ve been using my Fuji Target for about 10 years now but decided to create a new one (work in progress). I had these targets printed by a wide assortment of labs (Mpix, Millers, Collages, etc.) as well as local establishments such as Walmart, Walgreens, CVS, etc., so I can  visually compare the final products and choose the best lab to process my photos. I have, on more than on occasion, changed labs so as to provide my customers the best possible product.

The main thing to look for is color cast in the white areas. Also the R-G-B  and  C-M-Y-K tend to vary quite a bit between processors. If my whites are white and my color swatches are correct, I’ve found my processing lab.

If you want to download the Test Targets I use, you can find them in the sidebar under Downloads on the Home Page of this blog. There are two of them, the Fuji Target and the NixImages Target.

Dragan Effect

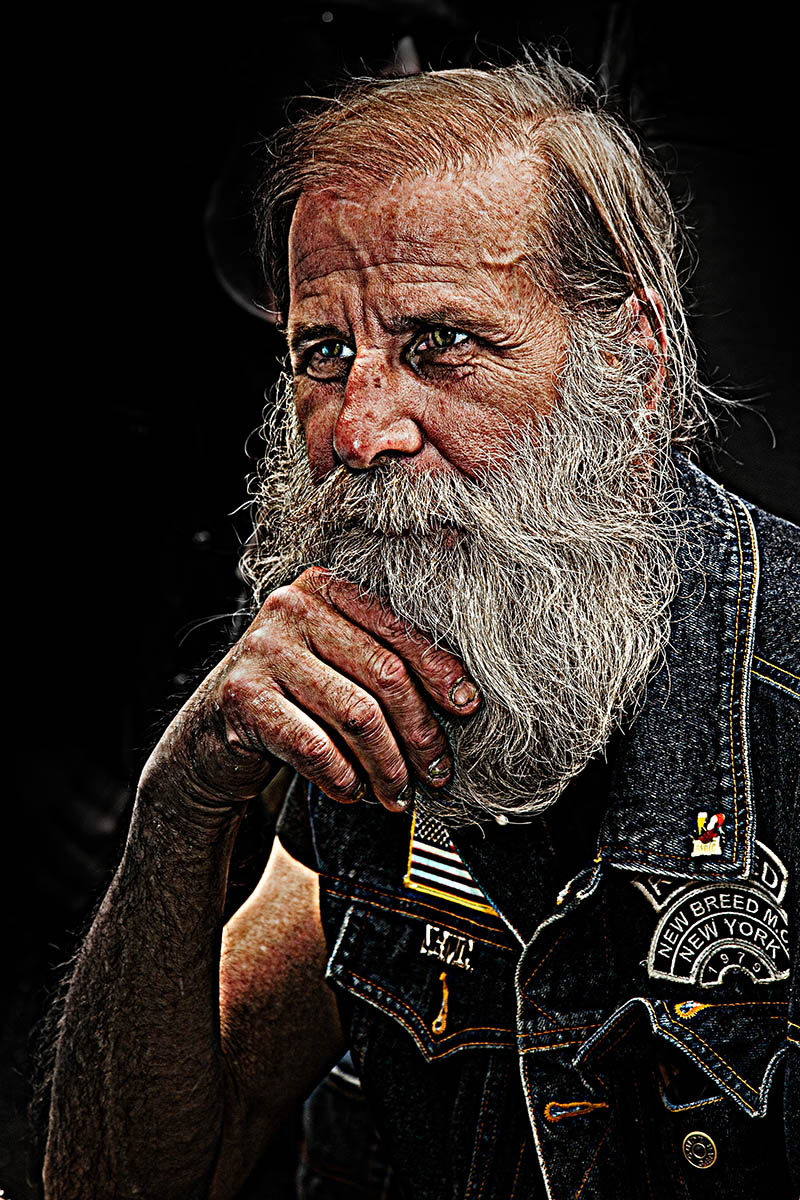
The following photo is from a biker wedding I shot a couple of years ago and I’ve thought about applying my version of the Dragan Effect to this particular photo. My application of this effect, while somewhat similar to the original, uses adjustment layers to achieve the desired effect. This allows me to make non-permanent adjustments as I go along.

Lets face it, this effect is not really applicable to just any photo but when the right one comes along it just has to be done. If you’re interested, I do have a YouTube Tutorial of this technique. You’ll find the Tutorial in the right-hand column of this blog under Tutorials. Dragon Effect MC Biker Portrait

Motherhood

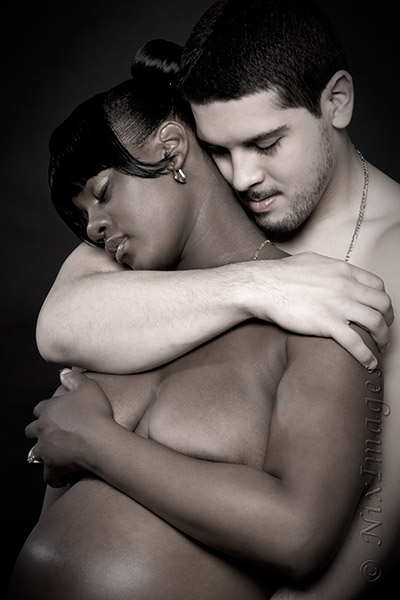
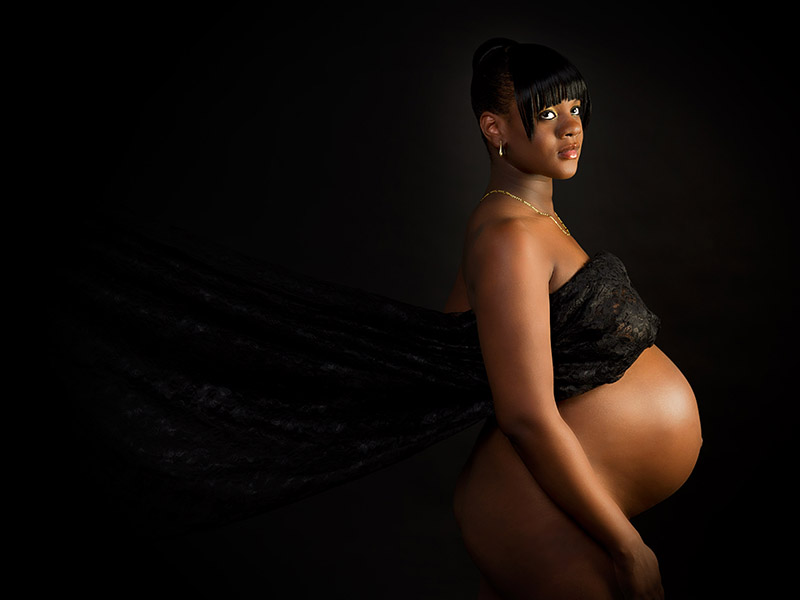
Maternity PhotosWhile I’ve done maternity sessions in the past, Jasmine had no problems with me sharing the photos on my blog or in my gallery.

All photos were shot in a studio setting using White-Lightning x1600 strobes. The camera was a 5D Mk III and all color calibration was done using an X-Rite color checker.

Once I had a known starting point (White Balance & Color Calibration) I adjusted the images to achieve the effect I was looking for in Photoshop. Yea, I also use Lightroom, however, you really can’t do any serious touch-ups in Lightroom.

To see the rest of the photos visit the gallery

The Seer

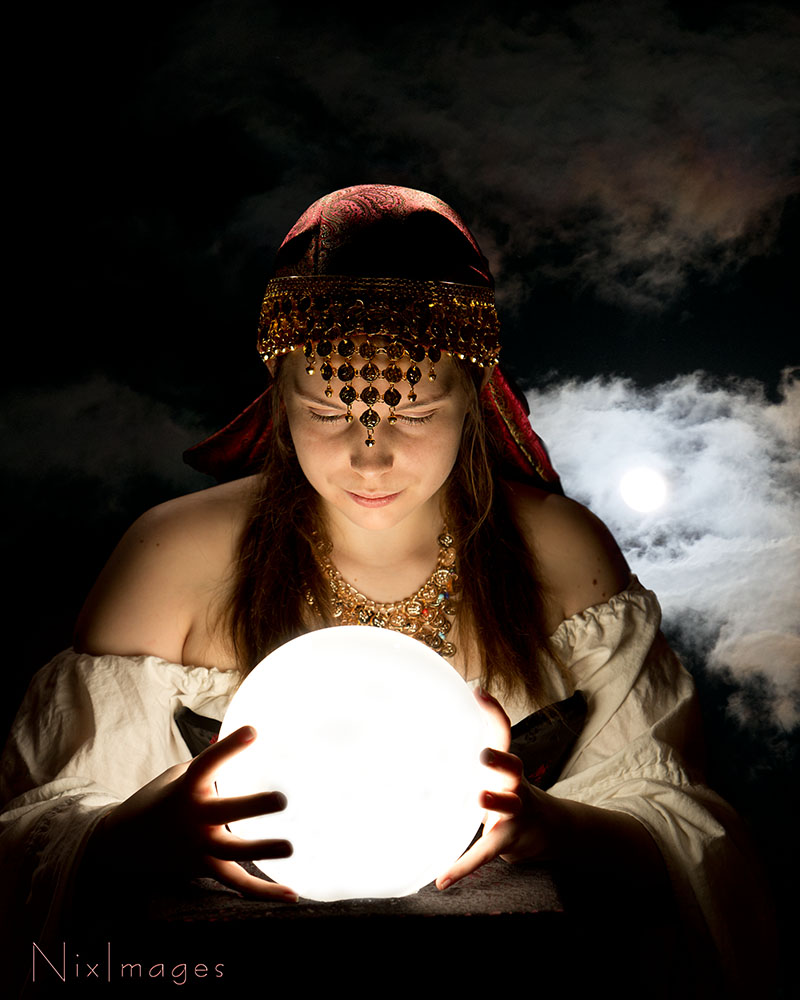
I had an idea for a shoot that I wanted to do, so with a little help from ebay (head piece and necklace) and a ceiling lamp fixture, I was ready to go. I enlisted the help of a model, Megan (aka Lysandra Midnight), who was more than eager to participate.   Gypsy Fortune teller with crystal ballDuring my last wedding shoot, my 580ex II bit the bullet. I would have sent it in for repair but I did some super glue repair and figured that CPS wouldn’t work on it. That being said, I bought a new Canon 600EX-RT as a replacement and used it to light up the globe and my model. I then added two White-Lightnings with grids on either side of her head to add a bit of light on the head-scarf and shoulders.

In post-processing I changed the white balance to add a bit of warmth. I added a moon shot I did a while back and masked around the model to allow the moon & clouds to come through. This is pretty much a “work in progress” as I’m sure I’ll create a few variants of this particular shot.